What I’m using:
- iTerm2 on mac OSx
- JDK ( version 11 – https://www.oracle.com/java/technologies/javase-jdk11-downloads.html )
- node js ( version 10.2 )
- npm ( version 6.14 )
Some prerequisites to get the SDF CLI working include making sure you have a token-based authentication integration setup, a user role setup with sufficient permissions, and the bundle “SuiteCloud Development Integration” installed. I’ll cover some of these as we go along and ensure you have the features enabled for SDF and Token Based Authentication in Setup -> Enable Features.
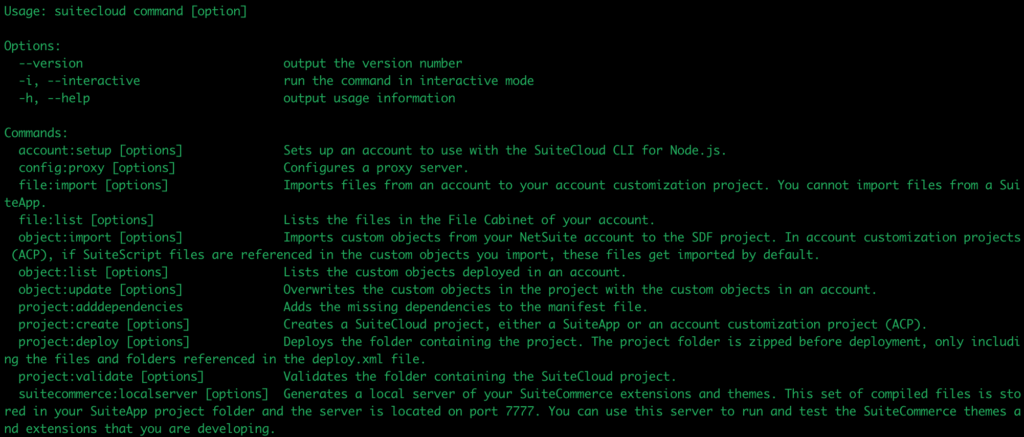
Start with suitecloud -h to see the cli options
Next, we’ll create our first project:
suitecloud project:create -i
Choose the Account Customization Project and enter a project name e.g. “test” and say yes to adding the Jest testing framework which install the npm dependencies
Now you setup your account using:
suitecloud account:setup -i
Here you can choose Browser-based authentication or Save a TBA token issued in NetSuite, we’ll choose the former which will open your browser and prompt you to allow RESTlet access from the SDF bundle.
If you need a token you can create one from the NetSuite UI through the Settings portlet on your dashboard choose the link for “Manage Access Tokens”. Creating one here will generate a consumer key, and a consumer secret which will only be available once the record is created, so make sure to save it securely somewhere such as a secure document or custom record.
You should see the following message if successful:The account has been authenticated for the following company and role: [your role here]. This project will use the authentication ID test as default. If you want to change your default credentials, run "suitecloud account:setup" again.
The account has been successfully set up.
In the next posts we’ll cover some of the SDF CLI basics.